To create a purchase invoice, please follow the steps mentioned below,
Step 1: Please click on “Purchase” in the home page.

Step 2: Select, create purchase invoice “With GST” or “Without GST”.

Step 3: Add the vendor
To add a new vendor, please check the steps from the link mentioned below.
To add an existing vendor please search the vendor name in the given search bar >> Select the vendor.

Step 4: Add products
To know how to add a new product, please check the steps from the link mentioned below.
To add an existing product search the product name in the search bar >> add quantity >> Click on “Continue”
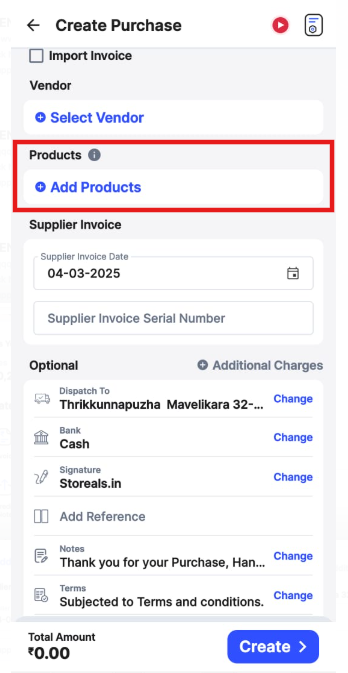

Step 5: Add other details.
Supplier Invoice date: You can mention the date on which your vendor has issued the invoice.
Supplier Invoice serial number: You can mention the exact serial number of the invoice given by the Vendor.
Reference: You can add the PO number, E-way bill number, sales person number etc in the references.

Step 6: Add signature.
To add the new signature please check the steps from the link below.
To add an existing signature click on the drop down button >> select the signature.

Step 7: Add Notes and terms
Add the applicable notes and terms in the given section to mention notes and terms on the invoice.

Step 8: Add additional charge if applicable
You can add additional charges if your vendor has applied for your purchase.
To add the additional charges to your invoice click on additional charges >> create additional charge (For example : Packing charges) >> click on “Add (Packing charges)” >> enter the charges >> Click on “save”

Step 9: Record TDS and TCS if applicable
Select the TDS or TCS option and select the applicable section to add the TDS or TCS on the invoice >> Select the amount on which TDS or TCS is applicable.

Step 10: Record the payment
To record the payment select the bank/cash payment >> add the payment amount >> and add the mode of payment.

