To create Razor pay account to link with Swipe, please follow the steps below:
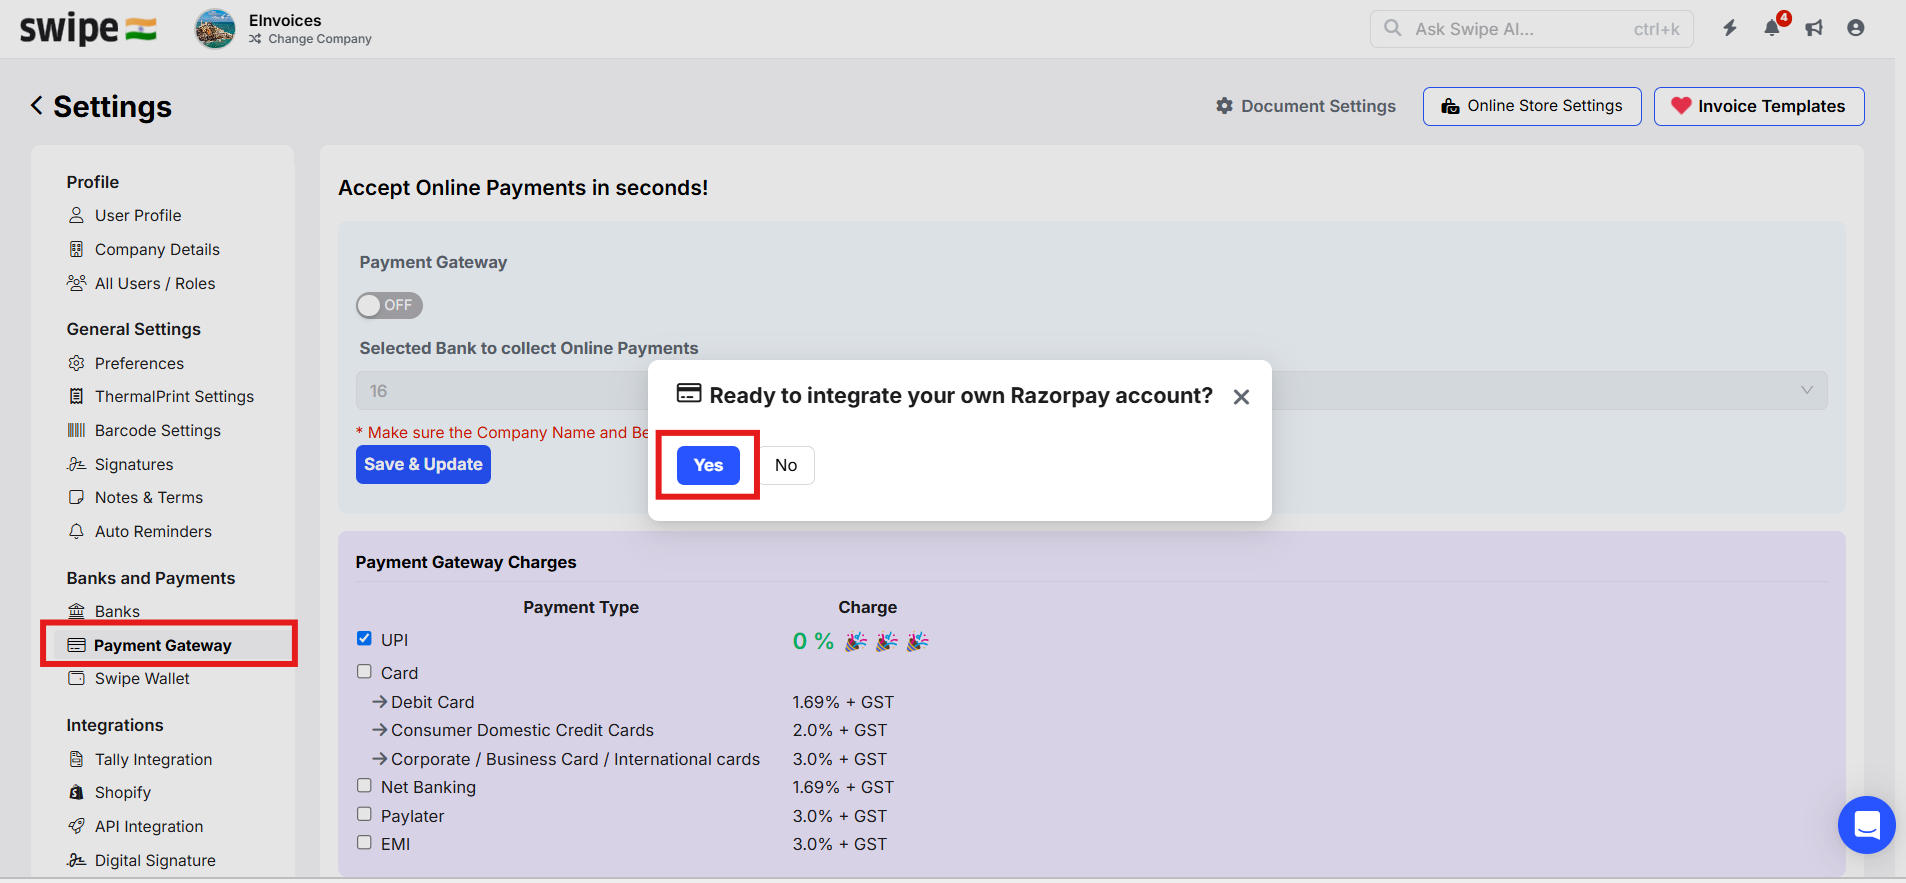
Step 1: Go to the “Settings”.

Step 2: Click on “Payment Gateway”.
Next, click “Yes” for Ready to integrate your own Razor pay account?
Step 3: Click on “Lets get started”.

Step 4: Click on “Create Account”.

Next, enter the register mobile number and click on next.

Step 5: Enter the “OTP” and click on “Submit OTP”.

Step 6: Enter you’re “Name”.

Step 7: Select “Where do you want to accept payments?”

Next, “Select others and enter want to accept from Swipe”.
Than, Click on continue

Step 8: Select “You’re Business Type” and click on “Continue”.

Step 9: Next, Enter “you’re personal PAN number” and click on “Continue”.

Step 10: Enter " Name on You’re PAN" and click on “Continue”.

Step 11: Enter “You’re Brand name” and click on “Continue”.

Next, select the Category does you’re business fall under.

Step 12: Describe about You’re Business and click on “Continue”.

You will get a pop displays account created successfully.
Step 13: Click on "Complete the KY"C.
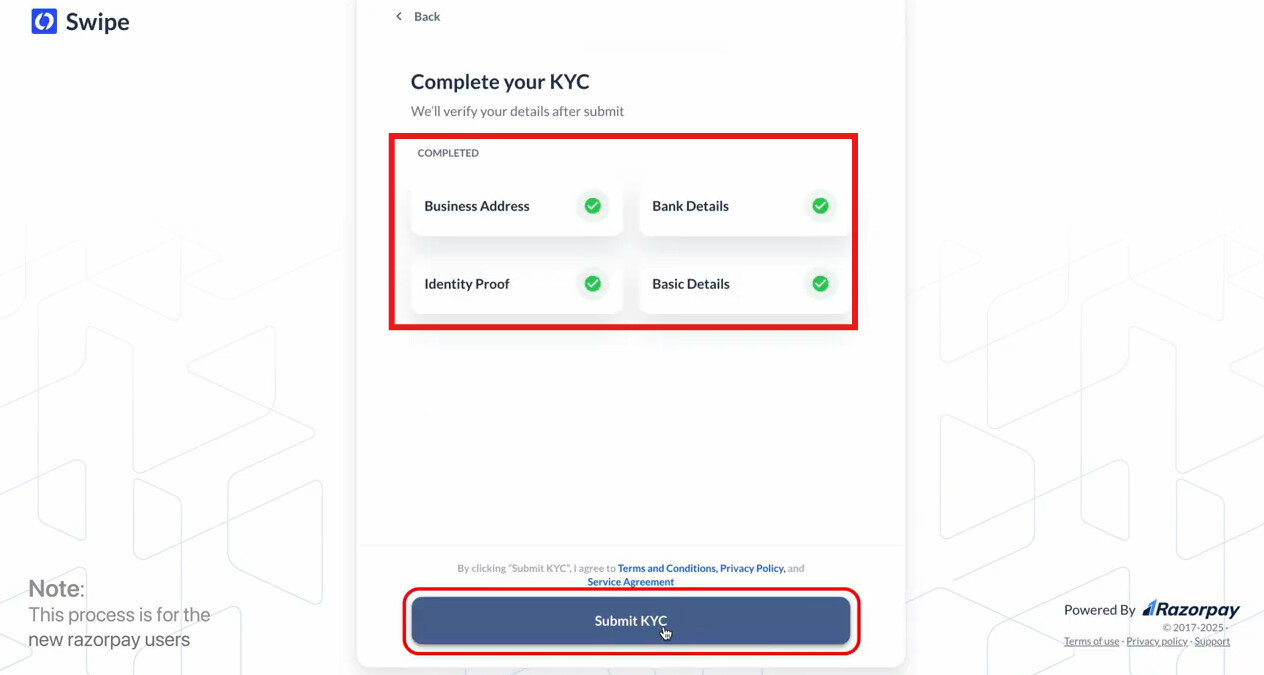
Complete the KYC to get benefits to receive payment to your bank account and accept payments of any amount with zero limits.

Step 14: Complete the KYC and click on “Submit KYC”.
Next, you will be navigated to this page.
Step 15: Click on “Authorize”.
This will allows permission to Swipe to integrate you’re Razor pay account with Swipe.

Step 16: Enable the “Payment Gateway”.

Please note, once your Razorpay account is activated, you can enable the toggle button.