To add a customer custom field, please follow the steps mentioned below.
Step 1: Go to “Sales” and select “Invoices”.
Now, click on the “Document Settings” Option at the top right corner of the screen.

Step 2: Select “Add Custom Fields”.

Here, select “Customer” from the navigation bar and click on “ + New Custom Field”.

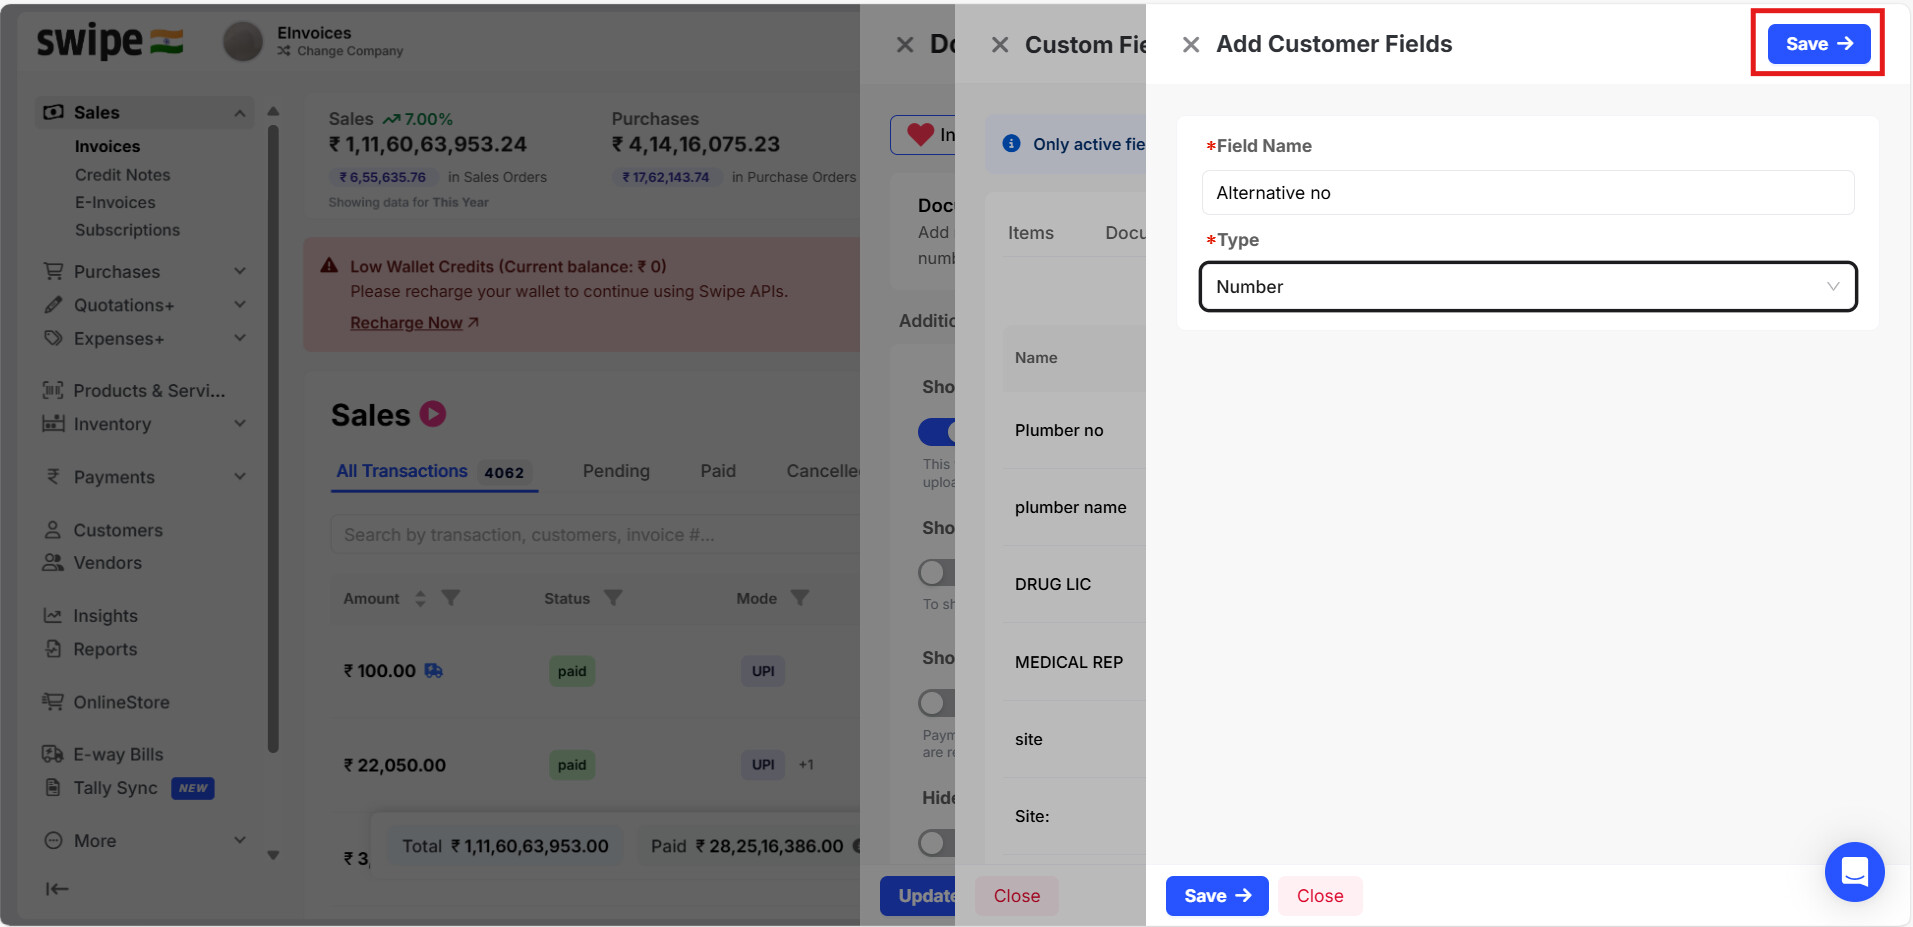
Step 3: Add a custom field as Alternative number.
Note: You can always add or edit the details later.

Step 4: Click on “Save”.
Now, click on the “Save” button at the top right corner of the screen to add a customer custom field column.
You have successfully added a customer custom field and a pop-up appears at the top of the screen informing the same.

Now you can turn on the Active toggle for this custom field so that it appears in the customers’ section.

Step 5: Click on “Update Settings”.
Close the custom field form and Click on “Update settings” from the first form present at the top right corner of the screen.

Note: Added field will display under customer section as shown below. When you’re adding/editing the customer you can enter the details in the field.
